
Key Takeaways
-
Complete a dental exam and professional cleaning before starting treatment, and treat any cavities or gum disease immediately to prevent complications under the aligners.
-
Commit to wearing aligners 20-22 hours daily by removing them only for eating, drinking non-water beverages, and cleaning teeth to ensure treatment stays on schedule.
-
Build a travel dental kit with a toothbrush, toothpaste, floss, and sturdy aligner case to maintain proper hygiene and care away from home.
-
Establish a strong daily brushing and flossing routine now, brushing after every meal and flossing daily to keep teeth healthy throughout treatment.
-
Plan meal timing around aligner removal, as you’ll need to brush and floss after eating before reinserting trays, eliminating mindless snacking habits.
-
Remove aligners before consuming coffee, tea, or sugary drinks to prevent staining and decay, and set phone reminders to switch trays on schedule every 1-2 weeks.
So you’ve decided to get clear aligners. That’s exciting news! Maybe you’re a busy professional who wants a straighter smile without anyone noticing. Maybe you’re a mom getting ready to start this journey for your teen. Or maybe you had braces years ago and things have shifted a bit since then. Whatever brought you here, you’re about to start a treatment that can truly change your smile and your confidence.
But here’s the thing: how you prepare for clear aligners can make a big difference in how smoothly your treatment goes. A little planning now means fewer surprises later, faster progress, and a much more comfortable experience overall. At Segovia Orthodontics in Lakewood Ranch, we’ve helped patients of all ages get ready for this exact moment. Let’s walk through the 13 things you should do before your trays arrive, so you can start your treatment feeling confident and prepared.
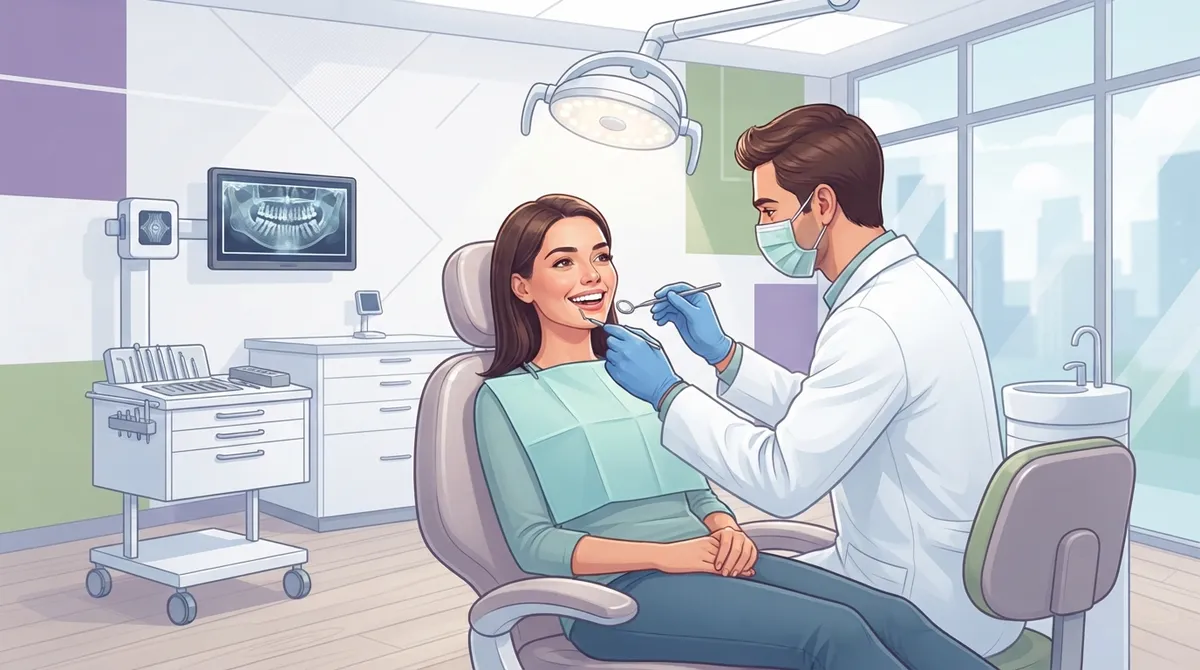
1. Schedule a Full Dental Checkup First
Before you even think about aligners, get your teeth checked out. A dental exam and professional cleaning are commonly recommended before starting clear aligners. This step matters because any hidden problems, like cavities or gum disease, need to be treated first.
Think of it like getting your car checked before a long road trip. You want to catch small issues before they become big ones. If you’re not sure who to see, our team can guide you through what happens during an orthodontic evaluation so you know exactly what to expect.
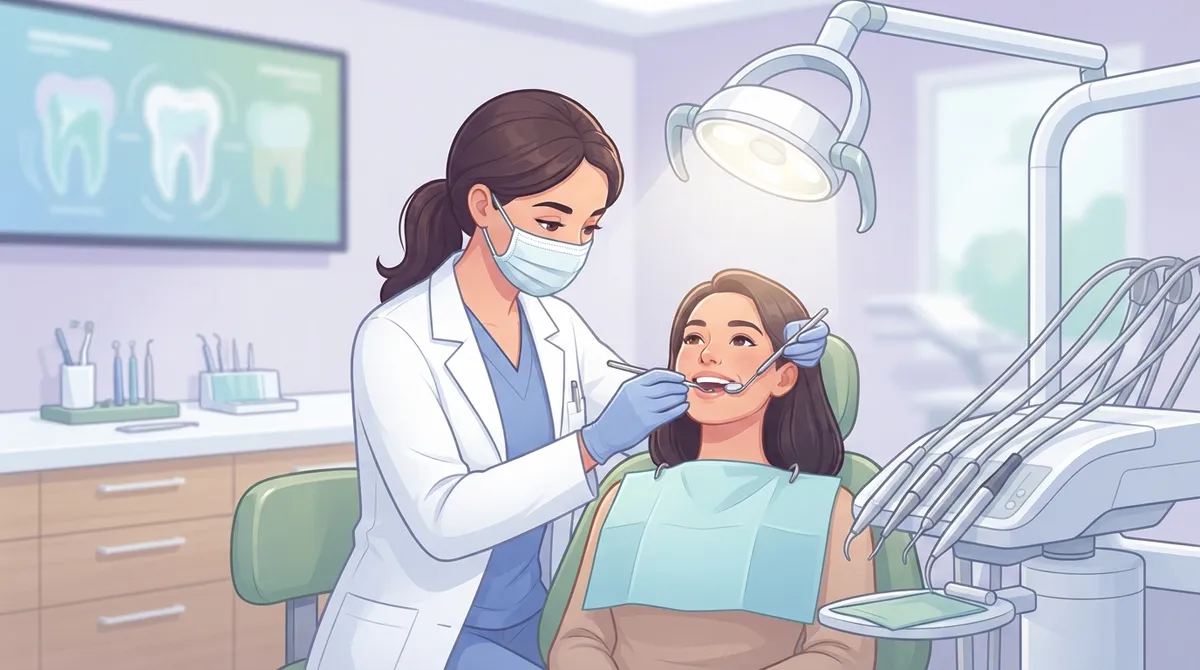
2. Treat Any Cavities or Gum Issues Right Away
If your dentist finds a cavity or early gum disease, don’t skip fixing it. Aligners fit snugly over your teeth, and any untreated dental issues can get worse under the trays. Getting this handled early keeps your treatment on track and your mouth healthy.
This is especially important for adult patients returning to orthodontics after years without treatment. If you’re in this group, you’ll want to check out our guide on adult orthodontics mistakes you should never make.
3. Talk About Wisdom Teeth and Attachments
If attachments, wisdom teeth, or other dental issues are present, these should be discussed with your orthodontist before treatment begins. Attachments are small, tooth-colored bumps placed on certain teeth to help your aligners grip and move teeth more effectively. They’re not scary, just an important part of the plan for many patients.
Wisdom teeth can sometimes interfere with tooth movement, so it’s smart to bring this up during your consultation. Dr. Flor Segovia, a board certified orthodontist, will walk you through exactly what your smile needs.
4. Build a Solid Brushing and Flossing Routine
Clear aligners only work well if your teeth stay healthy throughout treatment. Since you’ll be removing your trays several times a day, this is the perfect time to build strong habits. Try to:
- Brush after every meal, not just twice a day
- Floss daily to keep gums healthy under the trays
- Use a soft-bristled toothbrush to avoid irritation
- Consider a travel toothbrush for work or school
Good habits now will make wearing aligners so much easier later. Plus, you’ll thank yourself when it’s time to remove your trays for that important lunch meeting or date night.
5. Stock Up on a Travel Dental Kit
One thing many patients forget until it’s too late: you need supplies with you at all times. Keeping a travel dental kit is useful, especially for anyone who eats meals away from home. Here’s what to pack:
- A travel-sized toothbrush and toothpaste
- Floss or floss picks
- A sturdy aligner case (never wrap trays in a napkin!)
- Mild soap or a designated aligner cleaning solution
Keep this kit in your bag, car, or desk drawer. Career-focused professionals especially appreciate having a kit ready to go between meetings.
6. Understand the Wear Time Commitment
This is one of the most important things to prepare for mentally. Patients are typically instructed to wear clear aligners for about 20 to 22 hours per day for treatment to work as planned. That means aligners come out only for eating, drinking anything besides water, and cleaning your teeth.
It sounds like a lot, but most patients adjust within the first week or two. If you’re comparing your options, our article on braces vs. clear aligners breaks down the daily commitment for each treatment type.
7. Plan Your Meals and Snacks Differently
Aligners should be removed for eating and drinking anything other than water, then teeth should be brushed and flossed before reinserting them. This means no more mindless snacking throughout the day. It also means planning ahead for meals, especially if you’re at work or traveling.
Here’s a quick game plan for staying on track:
- Remove your aligners before eating or drinking anything but water
- Store them safely in their case, never a napkin or pocket
- Brush and floss after your meal
- Rinse your aligners before putting them back in
- Set a reminder if you tend to forget to reinsert them
8. Rethink Your Coffee, Tea, and Soda Habits
We know, we know. Coffee is sacred to a lot of us. But avoiding frequent sugary or staining drinks while wearing aligners helps reduce the risk of decay and discoloration. Since you’ll be removing your trays for drinks anyway, this is a great time to cut back on sugary sodas or at least drink them through a straw.
If you truly can’t skip your morning coffee, just remember to remove your aligners first, then brush before putting them back in. Your trays will stay clearer and your teeth healthier.
9. Learn the Right Way to Clean Your Aligners
Daily aligner cleaning is important for keeping your trays clear and odor-free. Common instructions include rinsing and gently brushing trays with a soft toothbrush and mild soap or a designated cleaning solution. Avoid hot water, since it can warp the plastic.
| Cleaning Task | How Often | Quick Tip |
|---|---|---|
| Rinse aligners | Every time you remove them | Use lukewarm water only |
| Brush trays gently | Daily | Use a soft toothbrush, not toothpaste |
| Deep clean soak | 1-2 times per week | Use a designated cleaning solution |
| Check for buildup | Weekly | Look for cloudiness or odor |
10. Know Your Tray-Changing Schedule
One to two weeks is a common interval for changing to the next aligner tray, depending on your treatment plan. Mark your calendar or set phone reminders so you never miss a switch. Staying consistent keeps your treatment moving at the pace your orthodontist planned.
Our advanced orthodontic technology helps track your progress closely, so Dr. Segovia can adjust your plan if anything needs fine-tuning along the way.
11. Prepare for Your First Appointment Day
Your very first aligner fitting is a bit more involved than you might think. Placing the first aligner can take up to an hour, according to pre-visit guidance from orthodontic offices. During this visit, your orthodontist may also place attachments on certain teeth.
Here’s what typically happens at that first appointment:
- A review of your treatment plan and aligner sequence
- Placement of attachments, if needed
- Fitting of your first aligner tray
- Instructions on wear time and care
- A schedule for your next check-in visit
Knowing what to expect ahead of time helps calm any nerves, especially for teens or first-time patients.
12. Consider Your Lifestyle and Treatment Timing
Are you planning a wedding, graduation, or big career move soon? Timing matters. Clear aligners are popular because they’re discreet, but treatment still takes months, so it helps to start early. If you have a milestone event coming up, talk to your orthodontist about a realistic timeline.
Life event planners especially benefit from starting treatment as soon as possible. This gives your smile plenty of time to transform before the big day, whether that’s a wedding photo session or a job interview.
13. Choose the Right Orthodontic Partner
Preparation isn’t just about your mouth. It’s also about picking a team you trust. Look for an orthodontist who offers flexible scheduling, clear communication, and treatment options tailored to your life. Our practice offers clear aligners alongside other options like WildSmiles Braces and LightForce Orthodontics, so families and adults alike can find the right fit.
Dr. Flor Segovia, featured on our orthodontist Flor Segovia page, is a proud member of standards upheld by the American Board of Orthodontics, meaning her training and expertise meet rigorous national standards. You can also see what real patients say by checking why patients choose us or browsing Visit us on Google — Segovia Orthodontics to see reviews from families right here in Lakewood Ranch.
A Quick Checklist Before Your First Aligner
Let’s bring it all together. Here’s a simple summary to keep handy as your treatment date approaches:
- Complete a dental exam and cleaning
- Fix any cavities or gum issues
- Discuss attachments and wisdom teeth with your orthodontist
- Build strong brushing and flossing habits
- Pack a travel dental kit
- Understand your 20 to 22 hour daily wear goal
- Cut back on sugary or staining drinks
Following these steps helps set you up for smoother, faster results. Many patients also love following along on our Instagram page for smile transformation photos and tips, or checking our Facebook page for community updates and patient stories.
You’re Ready to Start Your Smile Journey
Preparing for clear aligners doesn’t have to feel overwhelming. With a little planning, a solid cleaning routine, and the right orthodontic team by your side, you’ll be well on your way to a smile you love. Whether you’re a busy parent, a professional prepping for a big career move, or someone finally getting around to fixing that old relapse, these steps will help you start strong.
Ready to take the next step? Request an appointment with our friendly team today, or feel free to contact us with any questions. You can also simply call us at 941-557-1333 to get started. We can’t wait to help you begin this exciting journey toward your best smile yet.
FAQs
Q: How do I prepare my teeth before starting clear aligners?
A: The best first step is scheduling a dental exam and cleaning. This lets your orthodontist catch and treat any cavities or gum issues before your trays arrive, so your treatment starts on a healthy foundation.
Q: Do I need a dental cleaning before Invisalign or clear aligners?
A: Yes, a professional cleaning is commonly recommended before starting any clear aligner treatment. It helps ensure your teeth and gums are healthy enough to handle the trays comfortably from day one.
Q: How many hours a day do I need to wear clear aligners?
A: Most patients are asked to wear their aligners for about 20 to 22 hours each day. This consistency is what keeps your treatment on schedule and helps you see results as planned.
Q: Can I drink coffee or tea with clear aligners in?
A: It’s best to remove your aligners before drinking coffee, tea, or other staining beverages. Just pop them back in after brushing your teeth, and your trays will stay clear and fresh looking.
Q: What should I keep in my clear aligner travel kit?
A: A good travel kit includes a small toothbrush, toothpaste, floss, and a sturdy case for your aligners. Having these on hand makes it easy to stick to your routine, even on busy days.
Our Service Area