Key Takeaways
-
Most braces treatment takes 12-24 months, but timeline varies based on bite complexity, age, jaw growth patterns, oral hygiene habits, and appointment consistency—discuss realistic expectations with your orthodontist early.
-
Daily oral hygiene is critical during braces treatment: brush after every meal, use interdental brushes or floss threaders, and avoid sugary/acidic foods to prevent white spots, decay, and gum problems.
-
After braces removal, consistent retainer wear is essential long-term or even lifelong because teeth naturally shift back over time—follow your orthodontist's specific instructions to maintain your straight smile.
-
Mild soreness after braces placement or adjustment is normal and manageable with soft foods, orthodontic wax on rubbing spots, warm salt water rinses, and over-the-counter pain relief.
-
Treatment options include traditional metal braces, custom LightForce braces (up to 45% faster), WildSmiles for kids, or nearly invisible Angel Aligners—choose based on your lifestyle, budget, and aesthetic preferences.
-
Adults can get braces successfully with the same basic process as teens; if your teeth shifted back after previous treatment, you're not starting from scratch and an experienced orthodontist can create an efficient correction plan.
Getting braces is a big step, and it’s totally normal to have a million questions swirling around in your head. Will it hurt? How long will this take? What can I even eat? Take a breath, friend. Whether you’re a mom booking your kid’s first orthodontic visit, a young professional finally fixing that smile you’ve always wanted to change, or an adult getting a tune-up after your teeth shifted back, understanding the braces treatment process makes everything feel less scary and way more manageable.
At Segovia Orthodontics in Lakewood Ranch, Dr. Flor Segovia and her team walk patients of every age through this journey with warmth and clear communication. This guide breaks down exactly what happens at each stage, so you’ll know what to expect from your very first consultation to the day you get your retainer. Let’s dive in together.
What Is the Braces Treatment Process, Exactly?
The braces treatment process is simply the step-by-step path your smile takes from crooked or misaligned to straight and healthy. It’s not one single event—it’s a series of planned stages, each building on the last. According to the American Association of Orthodontists, most people wear braces for about 12 to 24 months, though this depends heavily on your unique case.
Every journey includes these core phases:
- Initial consultation and diagnostic records
- Personalized treatment planning
- Braces placement (the “bonding” appointment)
- Regular adjustment visits
- Braces removal
- Retention phase with a custom retainer
Knowing these steps ahead of time helps you mentally prepare, plan your schedule, and feel confident instead of anxious. If you want a deeper look at what your first visit involves, check out our guide on what to expect at your first orthodontic visit.

Step 1: Your First Orthodontic Consultation
This is where it all begins. During your first visit, the orthodontist looks at your teeth, jaw, and bite to understand what’s going on. Think of it as a friendly meet-and-greet mixed with some helpful detective work.
According to NHS orthodontic guidance, this assessment typically includes:
- Dental photographs of your face and smile
- X-rays to see tooth roots and jaw structure
- Digital scans or physical molds of your teeth
- A conversation about your goals and concerns
This step usually takes one or two visits before braces are actually placed, giving your orthodontist time to build a plan that’s just right for you. If you’re curious about what happens during this evaluation, our article on what happens during an orthodontic evaluation covers it in detail.
Questions Concerned Parents Often Ask
Moms and dads, this part’s for you. It’s smart to ask about treatment timelines, appointment flexibility, and payment options right away. Many families appreciate learning about orthodontic financing options during this first meeting, so there are no surprises later.
Step 2: Creating Your Personalized Treatment Plan
Once your orthodontist has all your records, they’ll map out a plan tailored to your teeth. No two smiles are the same, so no two plans should be either.
Your plan will likely address things like:
- Crowded or overlapping teeth
- Gaps between teeth
- Overbite, underbite, or crossbite issues
- Jaw alignment concerns
This is also the stage where you’ll choose your treatment type. Options at Segovia Orthodontics include traditional metal braces, fun WildSmiles Braces for kids and teens who want extra personality, or the fully digital LightForce Orthodontics system, which uses 3D printing for custom-fit brackets. For patients wanting something discreet, clear aligners like Angel Aligners are a popular choice.
Comparing Common Treatment Options
| Treatment Type | Best For | Visibility | Typical Duration |
|---|---|---|---|
| Traditional Metal Braces | Kids, teens, complex cases | Visible | 12–24 months |
| LightForce Braces | Anyone wanting faster, custom treatment | Subtle (clear/white options) | Up to 45% faster |
| WildSmiles Braces | Kids and teens wanting fun designs | Visible, customizable | 12–24 months |
| Angel Aligners | Adults and professionals wanting discretion | Nearly invisible | Varies by case |
Take a look at our full breakdown of types of braces to see which fits your lifestyle best.
Step 3: Getting Your Braces Placed
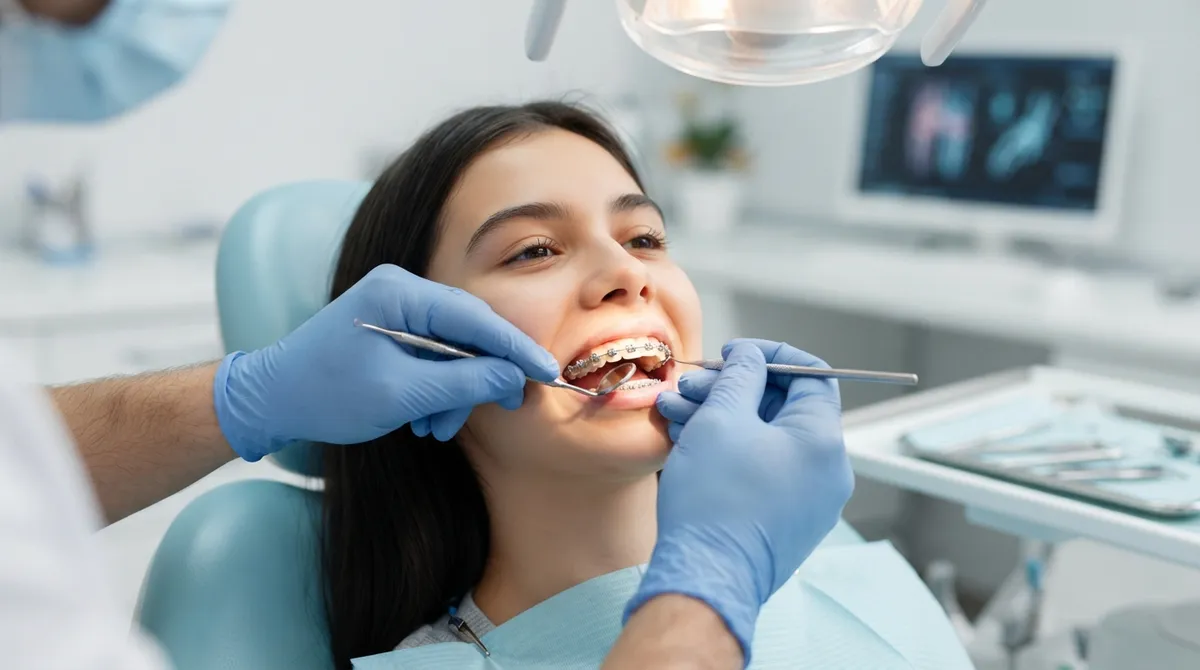
Bonding day! This is when brackets get attached to your teeth and the archwire gets threaded through. The NHS describes fixed braces as having three main parts: brackets bonded to each tooth, a connecting archwire, and small elastic modules that hold everything in place.
The appointment itself is painless, though your teeth might feel a bit sore or tender for a few days afterward. This soreness is completely normal and usually fades within a week.
Here’s what typically happens during this visit:
- Your teeth are cleaned and dried
- A special bonding material is applied to each tooth
- Brackets are carefully placed and cured with a light
- The archwire is threaded through the brackets
- Elastic ties or bands secure the wire
Curious about the nitty-gritty details? Read more in what happens at the braces start appointment.
Step 4: Adjustment Appointments Along the Way
Braces aren’t a “set it and forget it” kind of deal. Your orthodontist needs to see you regularly to tighten wires, swap out elastics, and check your progress. The American Association of Orthodontists notes these visits usually happen every 4 to 12 weeks, while NHS guidance suggests every 4 to 10 weeks.
During each visit, your orthodontist will:
- Check how your teeth are moving
- Adjust or replace the archwire as needed
- Swap out colorful elastic ties (fun for kids!)
- Answer any questions or concerns you have
Busy professionals, take note: many orthodontic offices, including ours, offer flexible scheduling to work around demanding careers. Don’t let a packed calendar keep you from your dream smile—request an appointment that fits your schedule.
Managing Discomfort Between Visits
Mild soreness after adjustments is common. Here are some easy ways to feel better fast:
- Eat soft foods for a day or two after adjustments
- Use orthodontic wax on any spots that rub
- Rinse with warm salt water to soothe gums
- Take over-the-counter pain relief if needed
If a bracket or wire ever breaks, don’t panic—just contact your orthodontist promptly. Our page on orthodontic emergencies walks you through what counts as urgent and what can wait until your next visit.
Step 5: Caring for Your Braces Every Day
Braces create extra nooks and crannies where food and plaque love to hide. That means your oral hygiene game needs to level up during treatment.
Follow these daily habits for a healthy, happy smile:
- Brush after every meal with a soft-bristled brush
- Use interdental brushes or floss threaders daily
- Rinse with fluoride mouthwash
- Keep up with regular dental checkups
- Avoid sugary and acidic foods and drinks
Skipping these steps can lead to white spots on your teeth, tooth decay, or gum problems. Nobody wants that after all this hard work! For more tips, our guide on how to properly brush teeth with braces is a great resource.
Foods to Avoid With Braces
Hard, sticky, and chewy foods can damage brackets and wires, which can extend your treatment time. Steer clear of:
- Popcorn and hard nuts
- Sticky candy like caramels or taffy
- Hard pretzels or crunchy chips
- Chewing on ice or pen caps
- Corn on the cob (cut it off instead!)
Step 6: The Big Day—Braces Removal
After months of hard work, this is the moment everyone waits for! Removing braces is quick and painless. Your orthodontist will gently remove each bracket, clean off any leftover adhesive, and polish your teeth so they shine.
Most patients feel a huge sense of accomplishment here. But hold on—treatment isn’t quite finished yet.
Step 7: Wearing Your Retainer
This step is just as important as everything before it. Teeth naturally want to shift back over time, so a retainer helps lock in your beautiful new smile.
NHS guidance confirms that retainers—whether removable or fixed—need to be worn as directed because teeth continue changing position throughout life. Depending on your case, you might get:
- A removable clear retainer worn nightly
- A fixed wire retainer bonded behind your front teeth
- A combination of both for extra security
Long-term or even lifelong retainer wear is often recommended. Learn more about your options in our article on orthodontic retainers.
How Long Does the Whole Process Take?
Great question, and the honest answer is: it depends. The American Association of Orthodontists and NHS both report treatment times ranging from about 6 to 30 months, with most people averaging 12 to 24 months.
Several factors affect your timeline:
- How complex your bite or crowding issues are
- Your age and jaw growth patterns
- How well you keep up with oral hygiene
- Whether you attend appointments consistently
- How well you follow instructions (like wearing elastics)
Life event planners preparing for a wedding or graduation should talk to their orthodontist early about realistic timelines so there are no last-minute surprises.
Are Braces Right for Adults Too?
Absolutely! More adults are choosing orthodontic treatment than ever before, whether it’s their first time or a correction after previous treatment relapsed. The process looks the same as it does for teens, though adults sometimes need extra care around gum health or previous dental work.
If you had braces years ago and your teeth have shifted back, you’re not alone—and you’re not starting from scratch either. Our adult orthodontics page covers everything you need to know about getting back on track.
Potential Risks and How to Avoid Them
Like any medical treatment, braces come with some risks. The good news? Most are easily prevented with good habits.
| Risk | How to Prevent It |
|---|---|
| White or brown enamel marks | Brush thoroughly and avoid sugary foods |
| Tooth decay or cavities | Maintain daily hygiene and dental checkups |
| Gum inflammation | Floss daily and use interdental brushes |
| Treatment delays | Attend all scheduled appointments |
| Relapse after treatment | Wear your retainer as instructed |
Choosing an experienced, board-certified orthodontist like Dr. Segovia, who is recognized by the American Board of Orthodontics, helps reduce these risks significantly through careful planning and monitoring.
Why Choose Segovia Orthodontics for Your Journey?
Dr. Flor Segovia brings advanced technology and genuine warmth to every appointment. Using advanced orthodontic technology, she creates efficient, comfortable treatment plans for patients of every age. Bilingual care in English and Spanish means every family feels welcome and understood.
Want to see why Lakewood Ranch families trust our office? Visit us on Google — Segovia Orthodontics to read real patient reviews, or check out our Facebook page and our Instagram page for smile transformations and behind-the-scenes moments. Learn more about our approach on our why choose us page.
Your Next Step Starts Today
Understanding the braces treatment process takes away so much of the mystery and worry. You now know what happens at each stage, how to care for your smile along the way, and why sticking with your retainer matters long after the braces come off. Every straight smile starts with a single decision to begin.
Ready to get started or have questions about your unique situation? Feel free to contact us today, or simply request an appointment online. You can also call us at 941-557-1333 to speak with our friendly team. Your best smile is closer than you think, and we can’t wait to help you get there.
FAQs
Q: What happens at the first braces consultation?
A: Your orthodontist takes photos, X-rays, and digital scans to understand your teeth and bite. It’s a friendly, no-pressure visit where you’ll also talk about your goals and any concerns you have.
Q: How long does the braces treatment process take?
A: Most patients wear braces for about 12 to 24 months, though it can range from 6 to 30 months depending on your case. Things like consistent appointments and good oral hygiene can help keep you on track.
Q: Are braces painful, and how can I manage soreness?
A: Mild soreness is normal for a few days after braces are placed or adjusted, but it’s totally manageable. Soft foods, orthodontic wax, and a warm salt water rinse usually do the trick.
Q: How long do I need to wear a retainer after braces?
A: Retainer wear is often recommended long-term, sometimes for life, since teeth naturally shift over time. Your orthodontist will give you specific instructions based on your treatment and needs.
Q: Can adults get braces, and is the process different?
A: Yes, adults get braces all the time, and the process follows the same basic steps as it does for teens. The main difference is that adults may need a bit more attention to gum health throughout treatment.
Our Service Area